

Reconnect With Your Inner Child and Make Delicious, Homemade Fruit Roll Ups
Foraging in Alaska reminded us and inspired us to make an all natural version of our favorite childhood snack at home in our Airstream. Here's how you can do it too without a dehydrator

When I was a kid, some of my favorite snacks were Fruit Roll-ups, Gushers, and Fruit by the Foot. My house wasn't a huge junk food house, but these chewy gummy candies were somehow permitted. Every week, we would head to Publix, and my parents would let me choose one of these to enjoy at home. It was the late 80s/early 90s, so we were blissfully unaware of the adverse effects of the food dye Red 40. These were the only candies we had in my house, so I savored each chewy, sweet, strawberry-flavored bite with my after-school episode of Saved by the Bell.
A few decades and three kids later, I’m in Alaska. Fruit rollups were the farthest thing from my mind as I was trying to survive the day, sick as a dog, with what I would later find out was probably Covid, driving up a windy road, trying to understand why I was feeling so lethargic and weak. With the turquoise Susitna River on our right, we were headed up to Hatcher's Pass, a high mountain landscape reminiscent of the Swiss Alps. As we got up into the higher elevations, we noticed people on the side of the road bent over, peppering the landscape with their orange buckets. Wild blueberries were tucked away in the bushes all around, so we pulled over and went for a bit of forage in this stunning alpine valley crisscrossed by creeks hidden by shrubs and berry trees. I was struggling to move, so I rested by the creek while Jaron and the kids went picking.


They picked these tiny and tart but sweet wild blueberries, and I thought, why not try to turn them into roll-ups? We have gradually attempted to replace the things they love that contain Red 40 with healthier alternatives. Today, we understand that this ubiquitous ingredient that is found in so many of our favorite childhood snacks and cereals is actually quite damaging, especially to children. We now know that Red 40 is linked to allergic reactions, digestive and inflammatory issues, neurological and behavioral impact, and potential DNA damage. How could we continue to give our children foods that contain this toxic ingredient?
Blueberries, in contrast, are so good for you! They're a superfood, with this laundry list of health benefits, with powerful antioxidants that reduce stress and inflammation, potentially protecting against several chronic diseases. I was excited to use them as the star ingredient in a roll-up for my kids. Since we got so many, dehydrating the fruit is a great way to save space in our small airstream fridge, as well as making for an easy and convenient car snack. We have been experimenting with various versions of this nostalgic snack for a couple of years now. Our kids loved the mango rollups we made last mango season in Miami.

We were also lucky to have a wild raspberry bush at our campsite, so they went picking there too. With the abundance of berries and too little time to eat them all, we decided jams and homemade fruit roll-ups would be a nice way to preserve and use them before they spoil. We bought rhubarb at the farmers’ market, and while we would usually make some version of a crumble or crisp with that, we decided it could be delicious in the roll-ups too. The jams/compotes are basically just the fruit boiled down and reduced to a jam-like consistency. They are delicious on their own, as an oatmeal topping, pancake/waffle topping, or pureeing and then making dried fruit leather. (aka fruit roll-ups). We opted for a bit of both and saved a jar of jam and used the rest for the roll-ups.


Homemade Fruit Roll-Ups Recipe (makes about 12 roll-ups):
What you’ll need:
baking sheet
parchment paper
scissors
blender or vitamix
small to medium saucepan for reducing berries
Ingredients:
1-2 pounds of fresh fruit (we used berries and rhubarb, but I’m sure other fruits would work well too)
1/2 cup of granulated light brown sugar
2 tsp fresh squeezed lemon
1/4 tsp fresh lemon zest (optional)
Method:
Wash and chop up your fruit and place it in a small or medium saucepan, uncovered. Then add in the sugar and the lemon juice.


Put that on a low simmer for about 10-15 minutes or until the fruit starts to get bubbly and boiling. Allow it to boil down and reduce until the fruit thoroughly softens and takes on a jam-like consistency. After about 15 minutes or when the fruit looks softened, turn off the heat. Let it cool down and then place the fruit in a blender or Vitamix to puree. While the fruit is cooling, you can preheat your oven to 350 degrees and line two baking sheets with parchment paper. I like to use scissors and cut the paper to the size of the baking sheet to ensure there is a neat border once the puree is spread on the baking sheet. This also makes for a nicer finish when rolling them up once they are dry.


Once you have a smooth fruit puree, take a rubber spatula and carefully and evenly spread a thin layer of the puree on the parchment paper. Try to keep the puree thick enough that you don't see the parchment paper beneath it, but thin and even enough that it will properly dehydrate. You will need to do this slowly, patiently, and gently. Try to avoid holes and keep the layer as smooth and even as possible. This is the most challenging part of the process, as it requires patience and persistence.


Make sure the baking sheet is evenly covered in the puree, and then pop it into your preheated oven for about 10-15 minutes, depending on your oven. These can start burning very quickly, so you will want to start checking on them after about 10 minutes. What you are looking for is that they start drying out without burning. When you check them, make sure there are no more wet puddles. A good trick that worked well for us after several burnt batches is to turn the oven off when the rollups are not completely dry, when they are slightly tacky, before they burn. Then, turn the oven off and leave the sheet pan in the oven to finish dehydrating for about another 15-20 minutes.


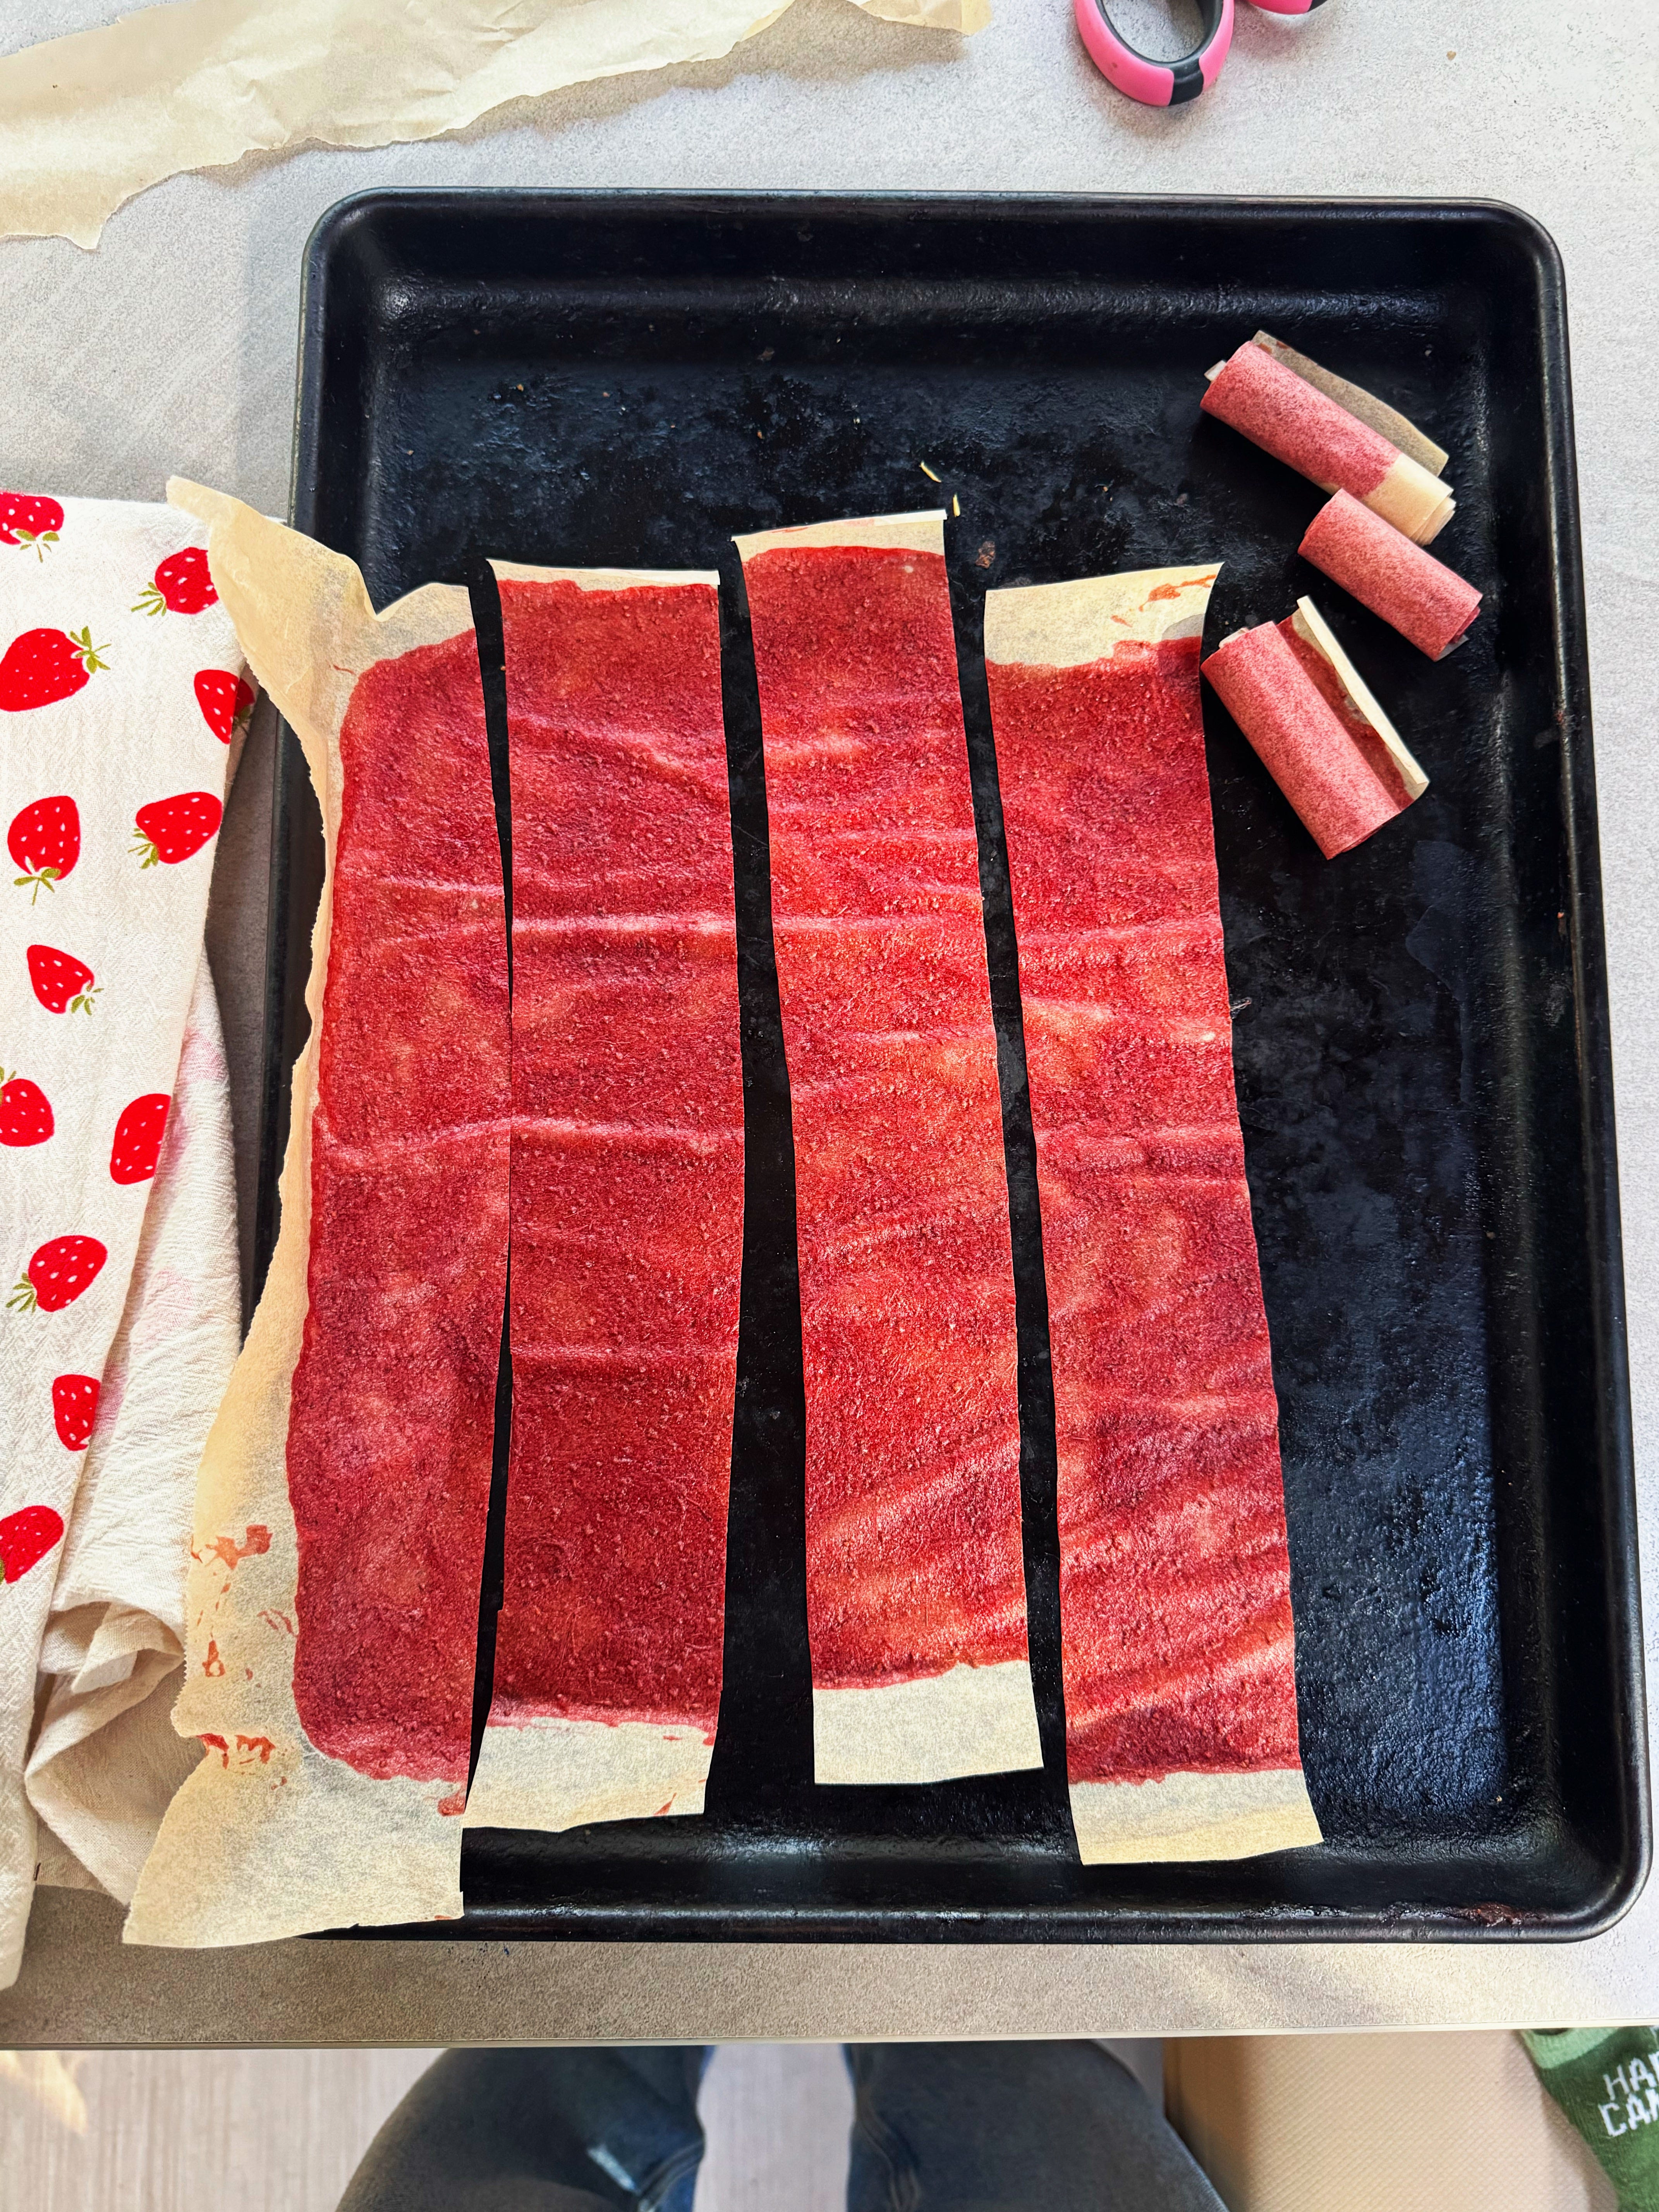
After your layer of fruit is completely dry, you can take it out and start cutting it up and rolling it up. You can make big ones or small ones; it’s really up to your personal preference. We did small ones to ensure we had enough for everyone.
We tried a few flavor combinations. First, we did a simple raspberry lemon. Next, we used the sour wild blueberries from Hatcher's Pass and made a Blueberry lime flavor, which was quite tart and sour, but the kids loved it. They tasted just like Sour Patch Kids, but better.
Lastly, we did strawberry rhubarb, which was also a huge hit. The combinations are endless, and it’s a really simple and fun project that you can do with the kids and send that Red 40 to the gutter for good. We hope you make and enjoy them. Please let us know if you do or if you have any good flavor combos to suggest, as we are properly addicted!